How to make a wooden picture frame
Building a wooden picture frame can be an easy beginner project, However there can be some pitfalls when making your own picture frame so today I'll take you through a picture frame I built and explain how to make them and how to avoid those pitfalls.
Tools and materials
First lets go over the tools and materials you will need to complete this project.
Table saw - for ripping the board into strips
Miter saw - for cutting miters (this is an optional tool as you can achieve the same process with a table saw)
Spline jig - will make cutting the splines super easy, I have free build plans for a spline jig here.
Flush saw - for cleaning up the splines.
Wood glue - for joining the pieces together.
Masking tape or Painters tape - for holding the frame together while it dries.
Sander - any sander will help but you can totally do this by hand.
Finish - any finish you like the look of.
Mounting style
Before beginning any build it's a good idea to have an idea of what kind of style you want, and a mounting style can change the way you build the frame. Some mounting styles are a mat frame in front of the picture, mounting the picture to a mat background or just having the picture in full with no mat.
I've decided that my frame will be a full picture with no mat.
An important note for when going for this option is that a little amount of the edges of the picture will be hidden by the lip of the frame. So keep that in mind when choosing.
With the style decided I can then figure out what materials I will need for the picture frame. Here is what is basically in 99% of picture frames:
Glass
Mat
Picture
Backing board
For my frame I won't be needing a mat. This is helpful because it will help us calculate the thickness of the interior of the frame which we will do next.
Measurements
Based on the materials you will use for design these are the important measurements you need to note down as they will decide how you make the frame.
The height, width and thickness of the picture
The thickness of the glass
The thickness of the mat (if you have one)
The thickness of the backing board
How wide you want the front of the frame to be.
With those measurements noted down, we can calculate everything else. First take all the thickness measurements and add them together. This will become your Interior Thickness, I like to add an extra 5mm to that interior thickness to allow for backing tabs.
As an example I have a 3mm thick glass, 2mm thick picture and 3mm thick backing board giving me 8mm but I'll add an extra 5mm for adding the tabs. Thus giving me an interior thickness of 13mm.
The final thing to figure out is the outside thickness of the frame. The way to figure this out is to first decide how thick of a lip the frame will have to the picture. Deciding this is a visual opinion on what you would like, do you want the the picture to appear deeper in the frame or shallower and closer to the front of the frame.
For me I want the frame to look shallow and minimal so I go for a thin lip of 5mm, then I simply add that to my interior thickness getting the outside frame thickness.
Similarly the front width of the frame is visual opinion you need to decide yourself, however I would suggest to keep the width not too much bigger or smaller than the size of the lip. This will make them look visually coherent, for my front width I go with 20mm.
You should now have all the measurements you need to build the picture frame.
Choosing Your Board Size
Figuring out what size of a board you should get to build the frame ultimately boils down to how much leftover scrap you will have.
With the measurements you now have you should be able to figure it out quite well. The important thing is that the boards thickness can't be smaller than the frame thickness.
Then to work out length and width of the board you will need to decide how you will cut the board. It's important to remember that a picture frame is made up of 4 pieces those being 2 sides and 2 tops & bottoms. Using your measurements of your picture we can figure the best sized board for you build.
Lets go over my frame as an example to show you how I plan out my cuts. My picture is 500mm tall and 300mm wide. The frame thickness is 18mm and I want it to also be 20mm wide.
So I know the board thickness can't be less than 20mm for my frame. Then I know it at least has to be longer than 500mm. If I go that option then that means the board needs to be wider than the width of each 4 pieces, so 20mm x 4 (plus a little extra for the blade width) would mean the board would need to be more than 80m add onto that the blade width of 3mm meaning it would need to be at least 90mm.
A better option would be to get a longer but less wide board. Say a board like 900mm long. This way I can cut 2 strips and in each strip get a 500mm side and a 300mm top or bottom. This would mean the board would only need to be 40mm wide with a little extra for the saw blade thickness.
Hopefully this has given you a better idea of what board sizing you should get.
Cutting the Frame Profile (Rabbet and Miters)
With your board in hand you can now begin making your frame. This is where I will explain how I made my frame and bring you along the process.
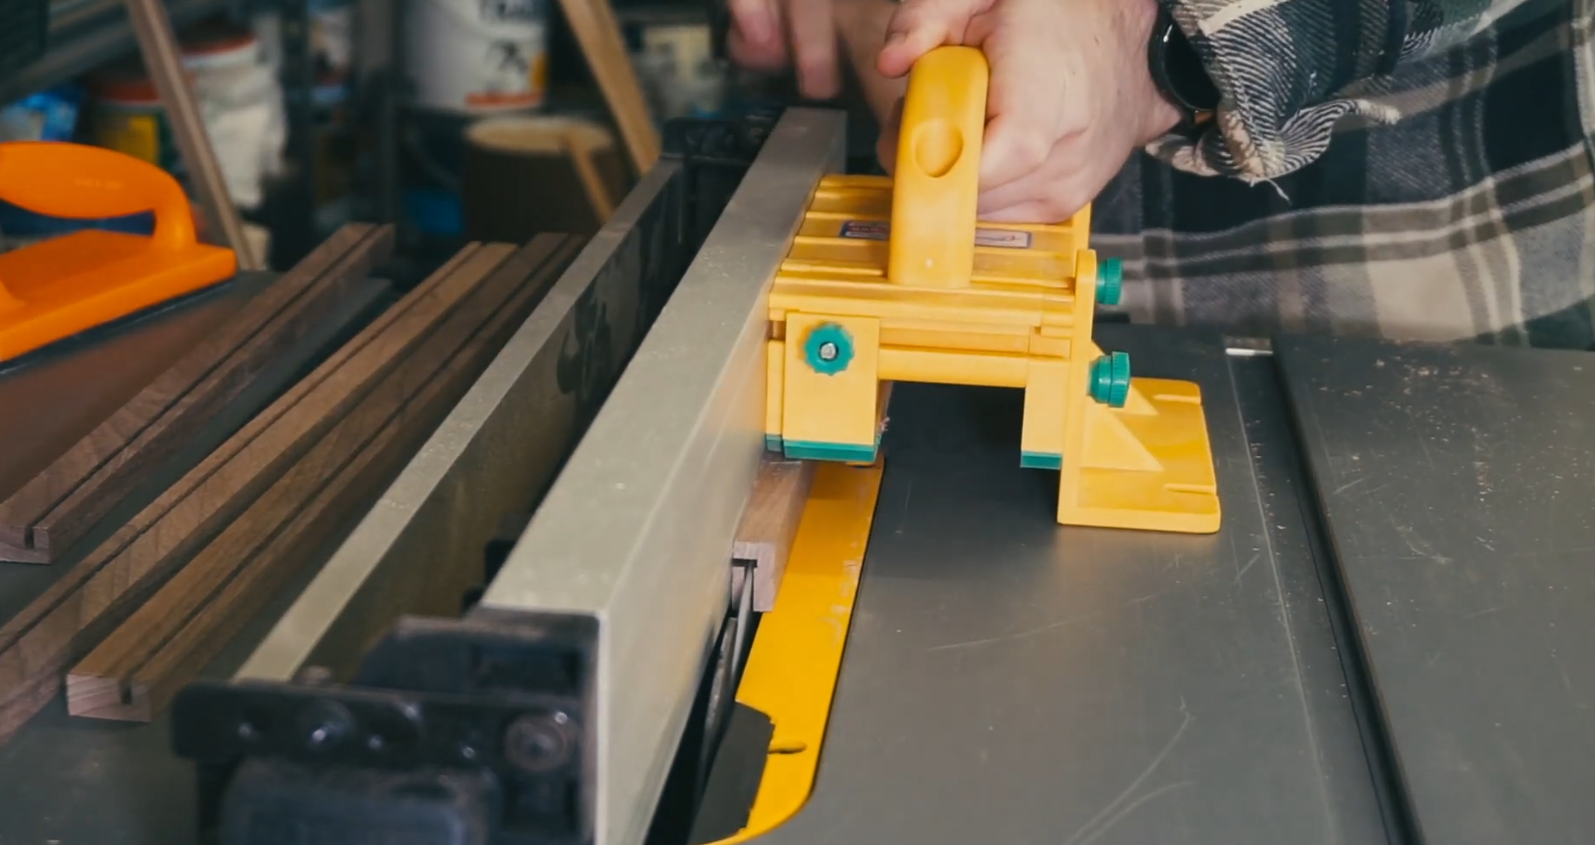
First I cut out the 2 strips that I will need to make the pieces. I set the fence on my table saw to be 20mm the desired width of the frame, that I decided before.
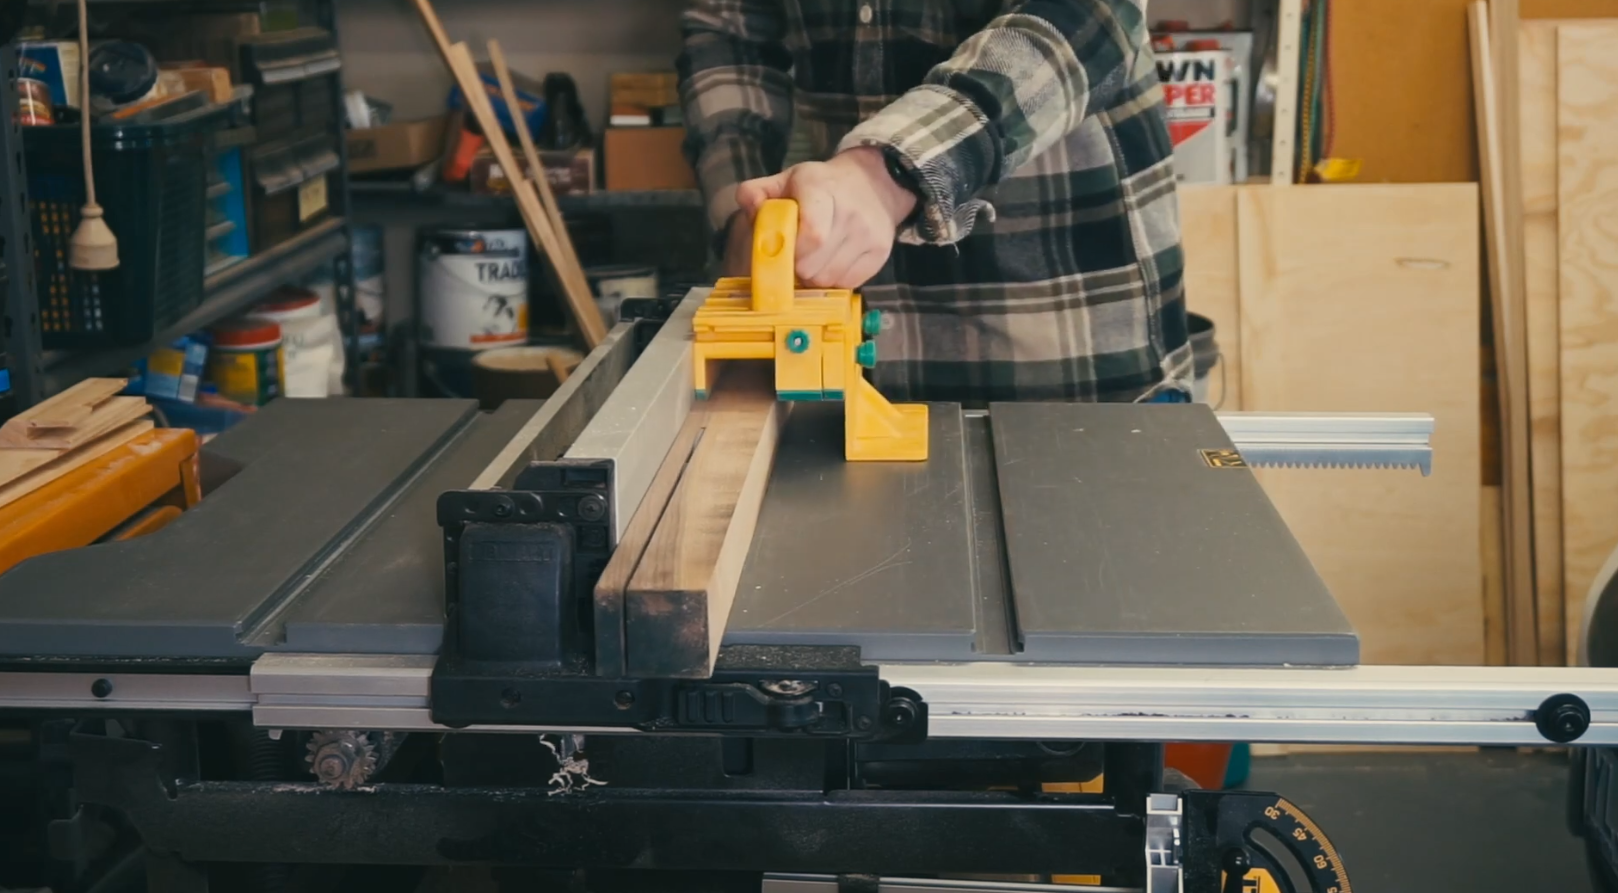
I would strongly suggest when making these cuts to use a push stick as the material will be thin making any finger be dangerously close to the saw blade. So please be smart and safe when doing this.
With the 2 strips cut I now move onto cutting out the interior groove of the picture frame. I'll do this in 2 steps for each strip.
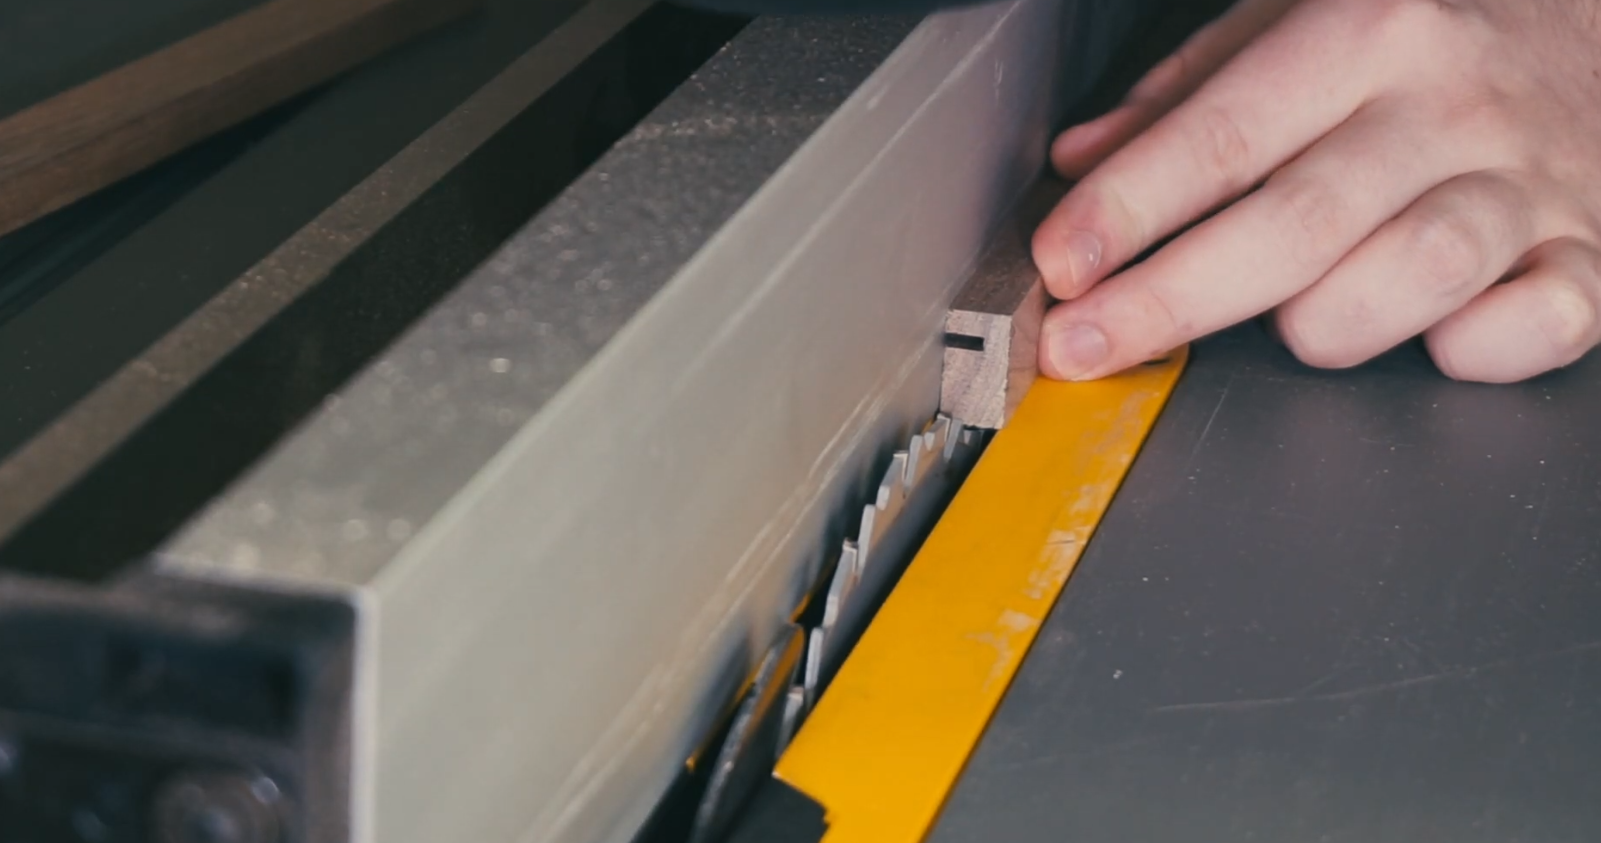
I first cut the interior thickness into the strip by setting my table saw fence to be 5mm, this is how wide I want the outside of the frame to be. Then I lower the saw blade so that the tallest part of the blade matches the interior thickness measurement. In my case that's 20mm. I then cut the 2 strips.
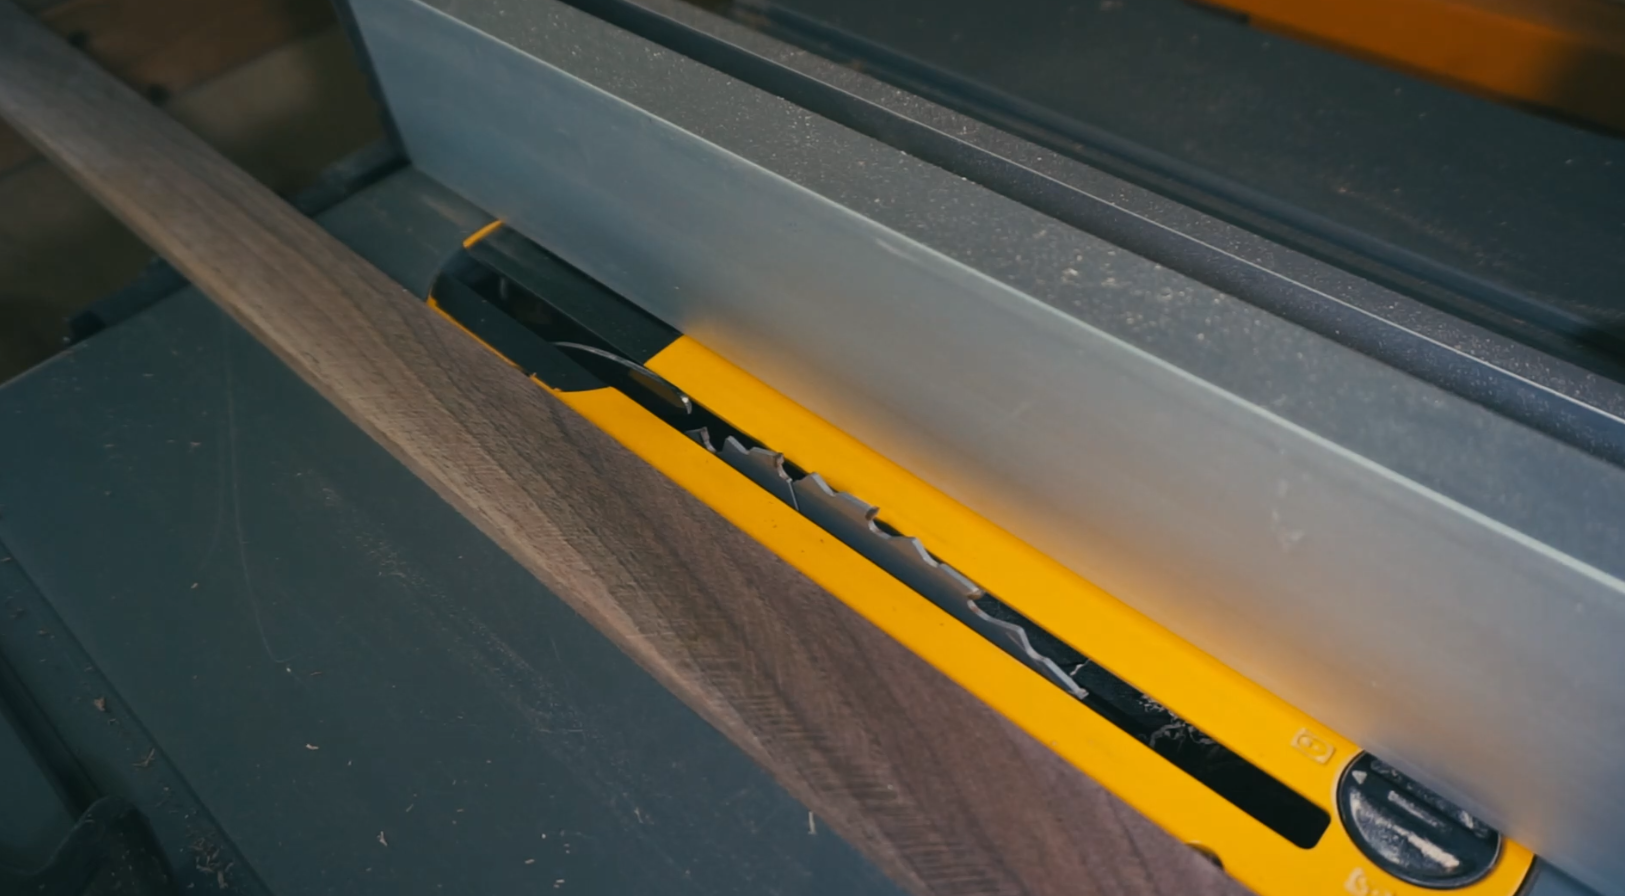
With this setup and the next one the blade will be hidden in the strip, so you need to be extra careful for these. I use a gripper to hold the piece, you can use a push stick but use wood one as the blade may cut into it and a plastic one may shatter sending shrapnel into you.
For the next cut I set the table saw fence to be the interior thickness and I set the table saw blade height to be the height of the previous cut. After passing the 2 strips thorough the saw with this setup I've cut out the interior part of the frame leaving me with the desired profile for my frame.
Taking the 2 strips I can now cut them into the 4 pieces that will make up the frame. I'll be joining the pieces with miters and splines in the miters for extra strength and visual flare. The 4 pieces are made of 2 sides and 2 top/bottoms. The measurements of the 2 groups should match so that the frame is square when joined together.
I'll start with the side pieces to cut these I first take the picture height measurement that I noted down at the start. This is what the interior height needs to be.
A good tip for these interior measurements is to add a little more like 3mm, this way the picture can fit easier into the final frame.
I mark out the miter on the end of the strip and then from the interior of the profile I measure out the interior height and mark out that miter.
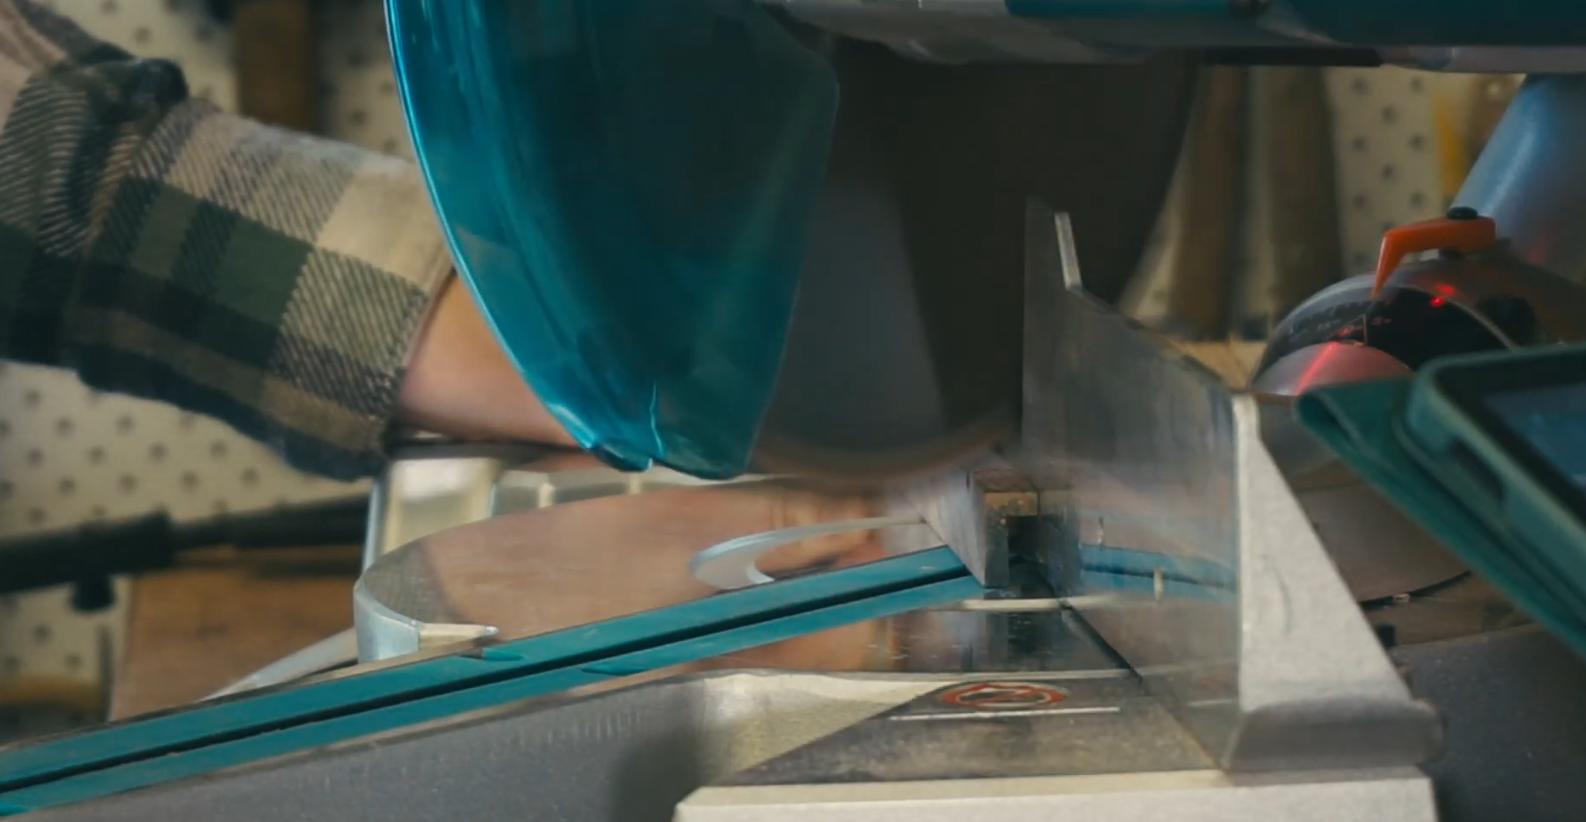
Then I take the strip over to the miter saw and cut the miters at a 45 degree angle (you can also do this on a table saw). Making sure that the miters on each end are opposite direction. I repeat for the other side piece leaving me with the 2 side pieces.
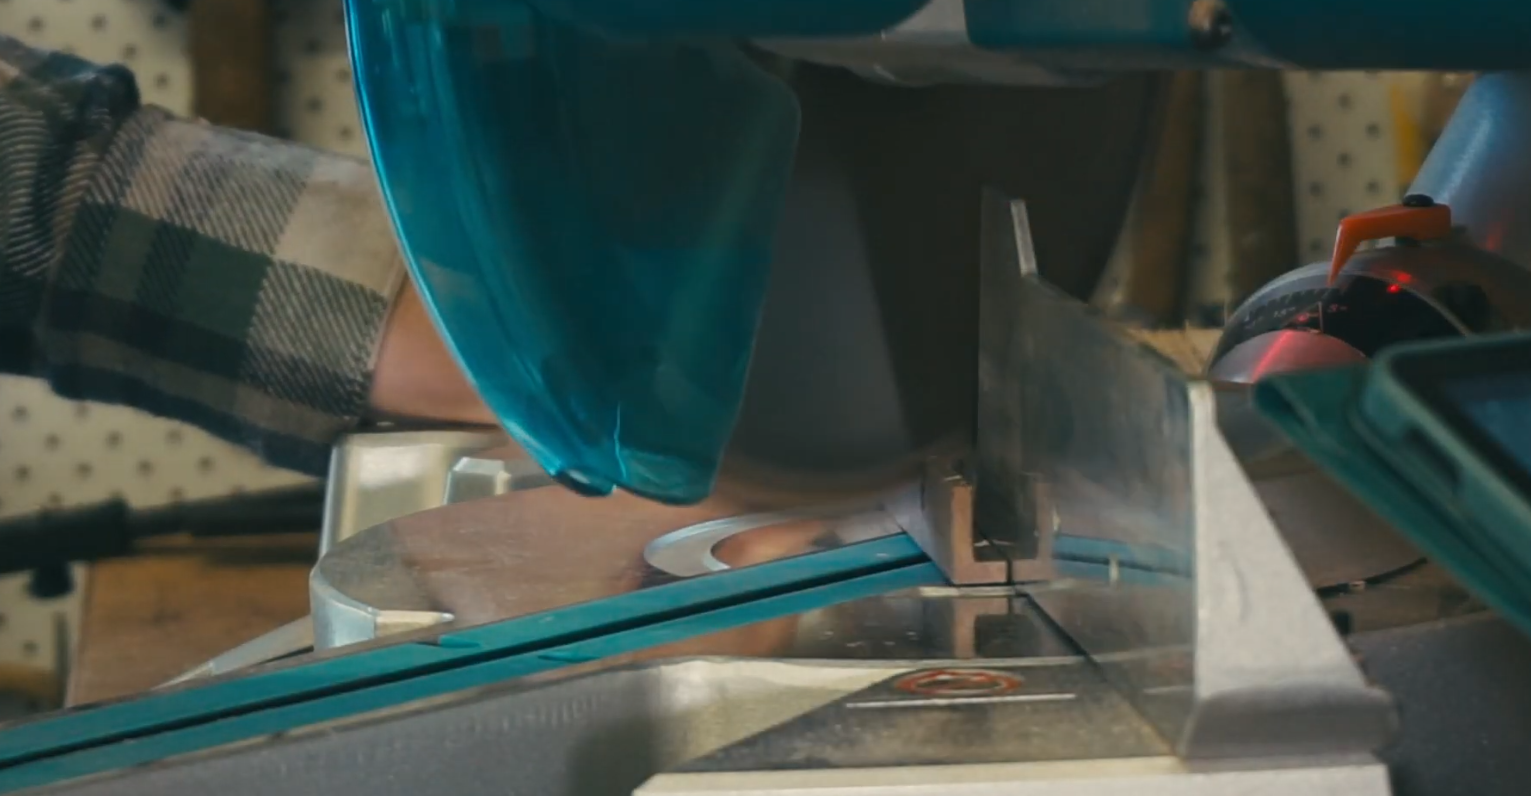
Notice how the frame profile has filliped. This will give the correct angles on both ends.
Making the top and bottom piece is the exact same process as the sides, only thing to change is the measurement of the piece to be the picture width with a little extra. Then chop it with a miter saw just like before.
Assembling the frame
Now I have all 4 pieces of the frame, meaning I can assemble the frame. To do this I will start by laying out the pieces on my workbench in this order: bottom -> side -> top -> side.
A simple way of holding the frame together that I use when gluing the frame is instead of using clamps for each corner I just tape the 2 outside miter edges together.
Then apply wood glue to the interior of all the miters and bring the pieces together and tape the last 2 miters together. Once I'm happy it all holds together I will leave the glue to dry up, as I will be cutting slots into the miters I want the glue to be really set so I leave it to dry for a day.
Coming back the next day I remove the tape from the frame and inspect the miters. Now is a good time to try fill any gaps there may be. For any gaps that I find i can put some extra glue in and then give the area a quick light sand. This way the dust from sanding will get into the glue blending it in more.
After that I setup my table saw to work with my spline jig. A jig for this makes it easy and safe, if you want to build one for yourself I have free plans that take you through how to build one here.
I set the saw blade to be high enough so the blade will cut into the frame when it's in the jig, but not high enough that it will cut all the way through the frame. Then I cut the gaps for the splines in each corner of the frame.
To fill the gaps I make splines, which are just thin little strips that are the size of the gap. For these you can use the same wood as the frame, but for a bit of a visual flare you can use a different type of wood. It will look even better if the different wood is a contrasting one, like the one I use here.
My frame is made of walnut which is a darkish brown so my splines will be made of blackbutt which is a nice light colored wood.
To cut the splines I measure the thickness of the gaps that I cut, or you could measure the thickness of one of the teeth on your saw blade. For me this is 3mm, this is extremely small and would be impossible to cut if I set the fence to that. Instead I take the width of board and minus the 3mm from that and set the fence to this measurement. This way most of the board will be going between the blade and the fence and the spline will come off the side.
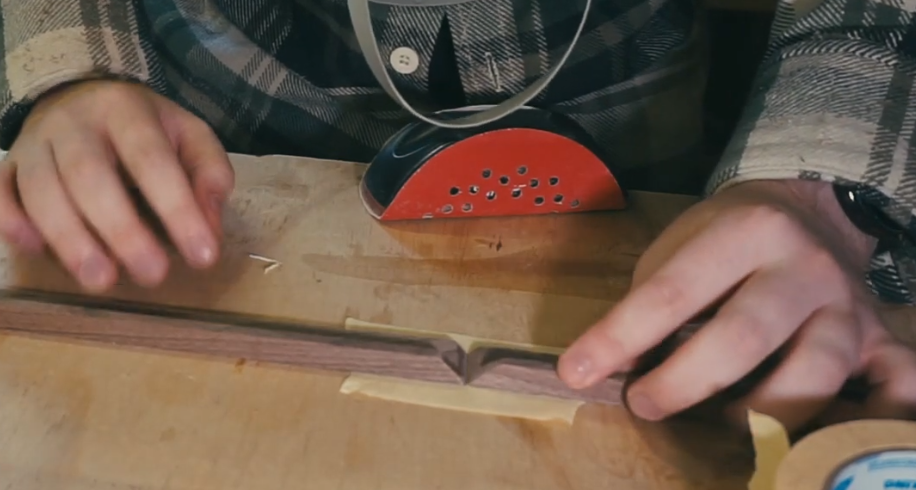
I then roughly cut the spline to 4 shorter lengths. The length of these don't matter too much just make sure that they are long enough to fill the entire gap in the frame. I do them extra long as I can come back later and flush cut them with a flush saw.
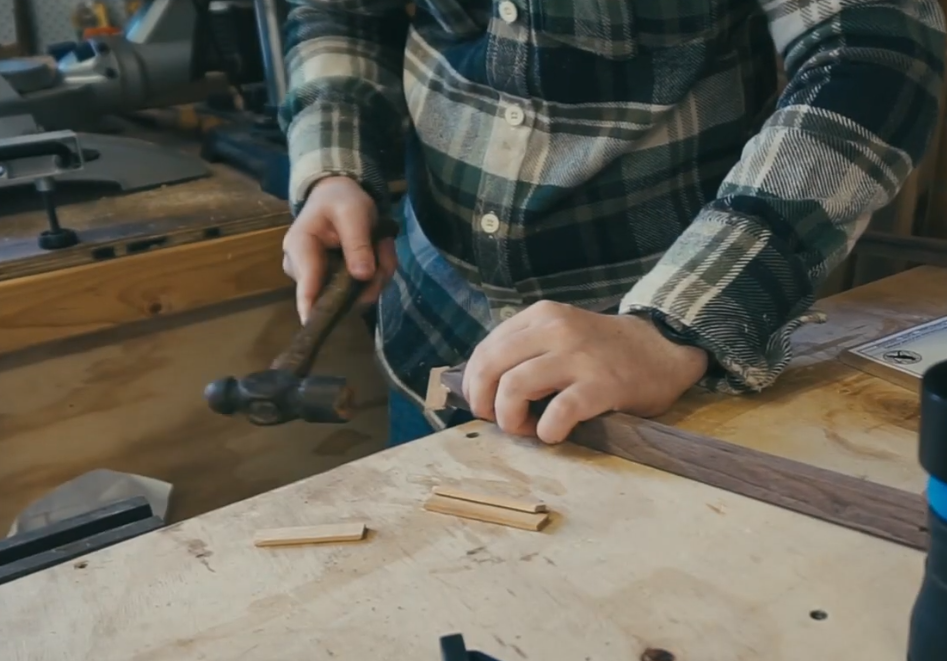
One by one I add some glue to a gap and then push a spline into it.
Sometimes you need to gently hammer the spline in because as you add glue the wood begins to expand making the gap slightly smaller.
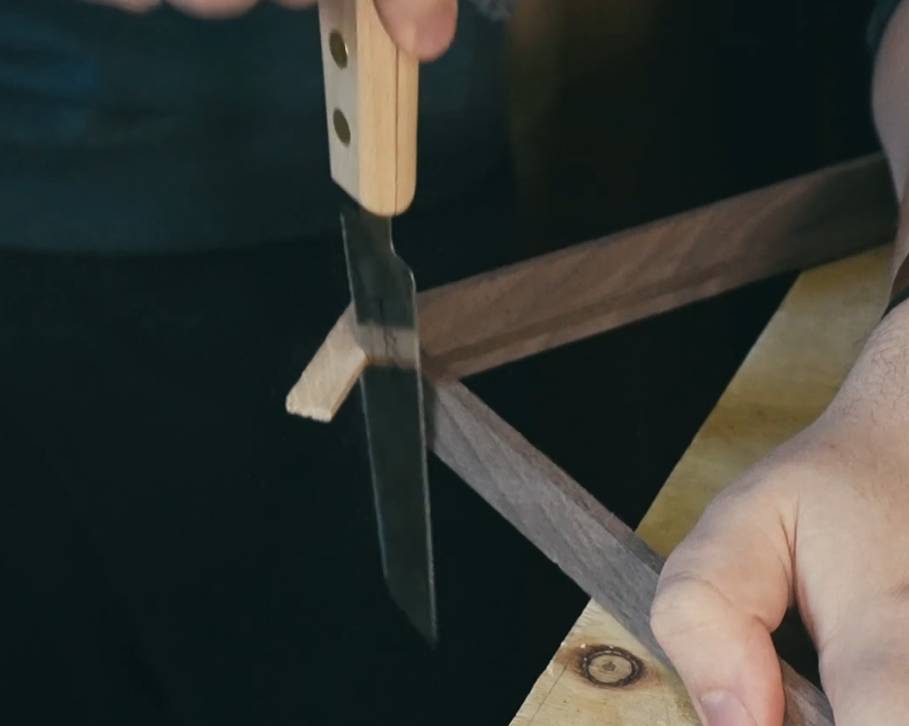
After adding glue and splines to all 4 corners I leave them to full dry. When I come back I flush cut the splines to the frame.
Finishing touches
With this the picture frame is fully assembled and I can move onto sanding before finishing the frame.
When sanding the frame you ultimately need to decide how far you are gonna go, will you sand the entire frame or just visible areas. For me the less sanding the better, so I will just sand all the visible areas. Meaning I will leave the interior part of the frame where the picture and other materials will be.
Some parts of the frame can be done with a sander but generally I find this is a hand sanding job. I start off with 80 grit sandpaper cleaning then go to 120 and finish with 180. I make sure to wipe down or vac the frame after each grit to remove any sanding dust. Then I give the frame a light spray of water, this causes the grain in the wood to rise. Which means when I do the next grit it will sand those all done. This is a good trick to do because it helps prevent the problem where you go to apply finish to the wood and as the wood drinks the finish it raises the grain. Doing this should prevent that.
Once I've gone through all the grits I give the entire frame a wipe down with some mineral spirits to really get rid of any sanding dust. I let that dry as I wouldn't want to trap any of that behind finish.
You can use any finish you want for this, hell you can even stain the frame now if you want to.
I apply 2 coats of finish, letting each coat to dry fully before apply the next. The finish I used for this frame was Osmo Polyx Oil but feel free to use whatever you want/have.
All that's left to do is to place the materials in the frame and add the hardware. The glass,mat,picture and backing board. With them in you can add the backing tabs, there are few types of tabs you can get like the push in ones but honestly I would recommended getting a cheap backing tab stapler. Makes the job way easier and quicker.
Then all you need to do is put your mounting hardware in the back of the frame. I use these tabs that I can wire up. To figure out the placement of the tabs I find the halfway of the frame height and then go a little less than that. Then when wiring the hanging I make the wire have slack to about the halfway from the tabs to the top of the frame. This usually gets the frame to sit in a nice place and not show any of the hardware.
Extra bonus point for putting some little felt tabs on the bottom of the frame. This will cause the frame to sit much more straight against the wall.
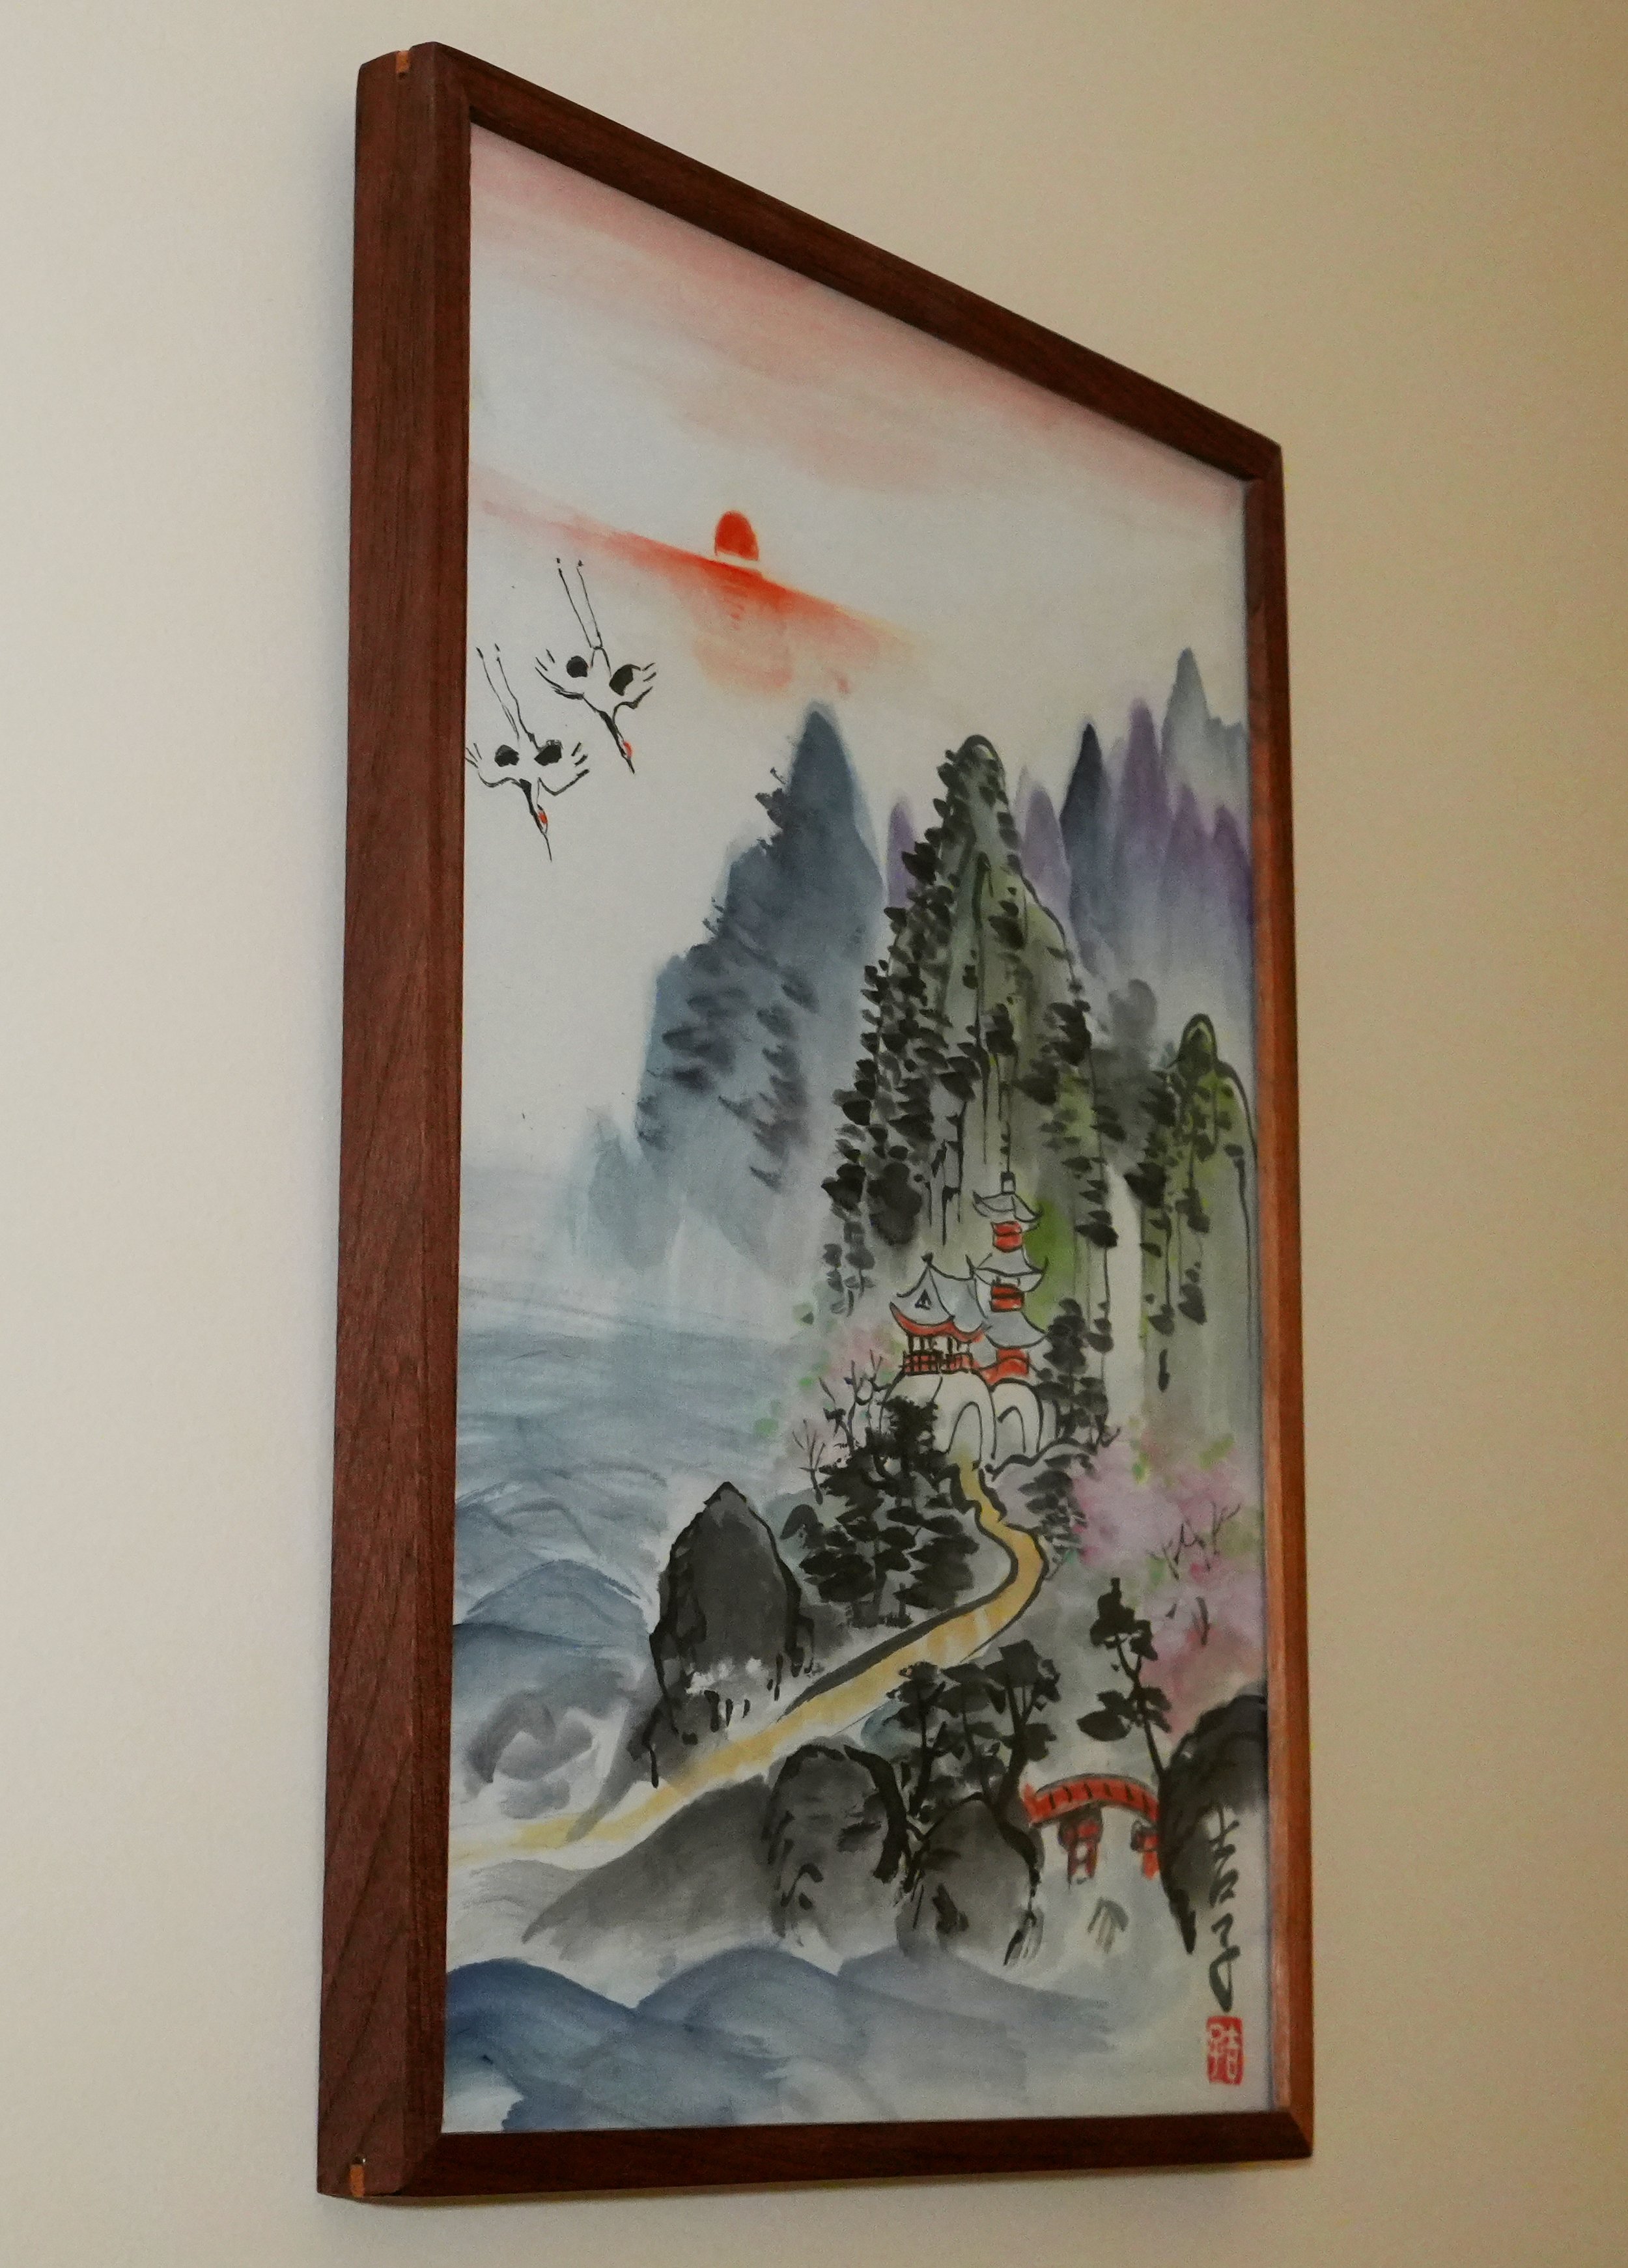
Finally find a spot on your wall that you want to put you picture frame and install the wall hanger. If you picture frame is not that heavy you should be fine to hang it from just drywall. But if it is heavy then definitely try to mount the hanger into a stud.
And with that the frame is built and hanged. I hope this post has given you some ideas and helpful tips on how to make a picture frame.